






Tent Condensation: Why It Happens and What Helps
Water on the inside of a tent does not automatically mean the fabric leaked. It is often condensation: moisture in the air meeting a surface cold enough for water to form. People breathe out moisture all night, wet equipment adds more, and humid weather can overwhelm even a well-ventilated pitch.
The goal is to manage condensation, not promise a perfectly dry inner in every condition.
First, work out where the water came from
- Condensation is often widespread on the cool inner face of the fly and may be worse around occupants, wet gear or still, humid sites.
- Driven rain may enter at an opening, badly seated vent or poorly pitched door.
- Groundwater can collect beneath or around the floor when the site drains badly or a groundsheet projects beyond the tent.
- A leak may track from a damaged seam, hole, failed coating or component.
Dry the area and observe where water returns. Do not cover a genuine leak with generic condensation advice.
Give the tent its designed air gap
Follow the pitch sequence, tension the fly evenly and maintain separation between the fly and inner where the design requires it. A sagging fly can touch the inner and transfer moisture. Do not pack bags against the walls or block low and high vents.
Ventilate for the conditions
Open the tent’s designed vents and protected door positions as rain, wind, temperature and insects allow. In a double-wall tent, air usually needs a route in below and a route out higher up. Single-wall shelters place moisture management even more directly on ventilation and careful contact with the fabric.
More airflow can reduce condensation, but it must not compromise the pitch or expose occupants to unsafe weather. Use the manufacturer’s options rather than cutting, propping or otherwise improvising openings.
Keep extra moisture out of the sleeping area
Remove soaked shells and footwear before they wet the sleep system, using the vestibule or other approved storage area without blocking exits or ventilation. Keep the sleeping bag from pressing against damp fabric. If conditions permit, wipe collected water with an absorbent cloth and dry that cloth away from bedding.
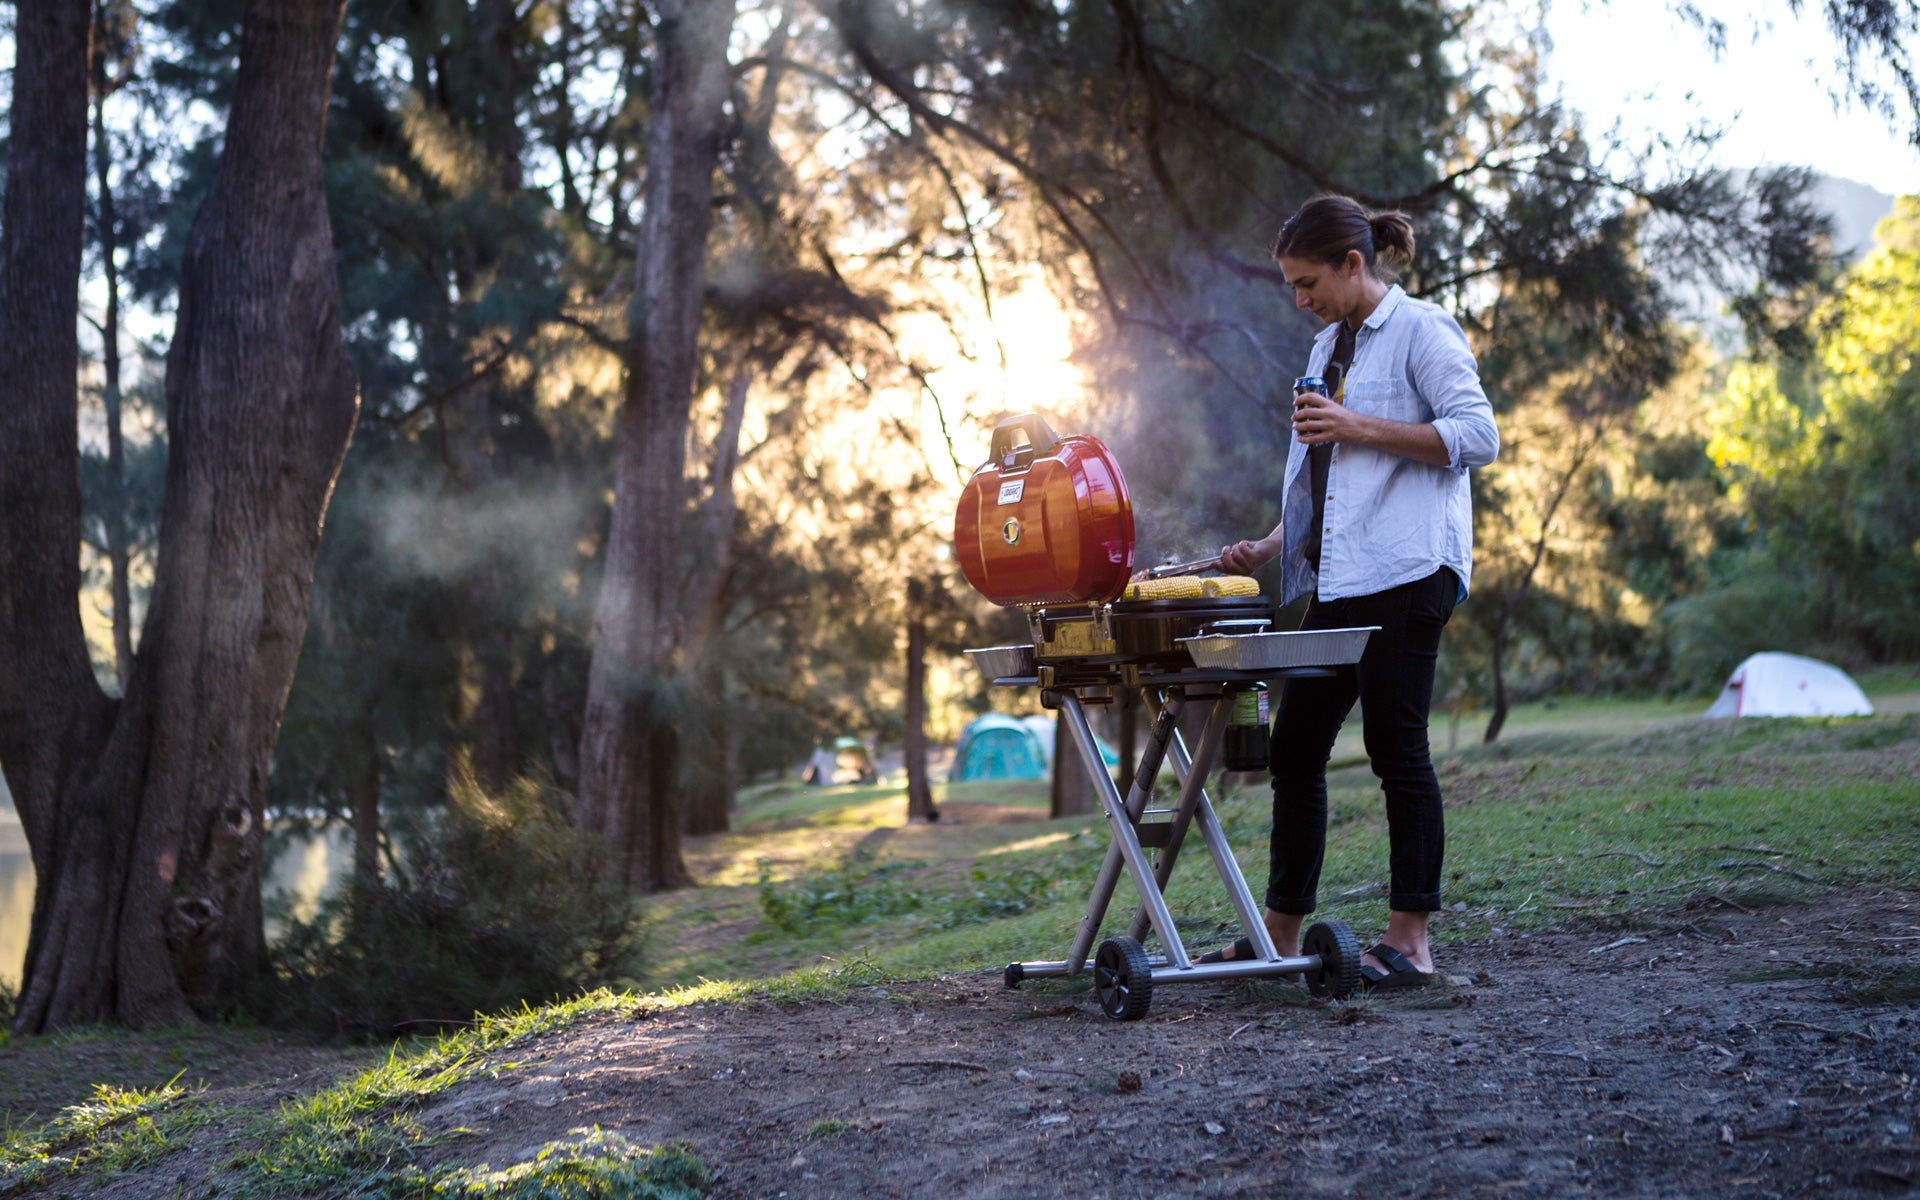
Never use a stove, barbecue, open flame or outdoor gas heater to warm or dry a tent. WorkSafe warns that camping appliances can produce fatal carbon monoxide in small enclosures, and flame and heat can also damage shelter fabrics.
Choose the site with moisture in mind
Use permitted, well-drained ground above flood level. Avoid hollows, riverbeds, mossy depressions and places where runoff can collect. A site close to open water or saturated ground may naturally be more humid, but safety, land rules and exposure matter more than chasing the driest-feeling patch.
Finish the job at home
If the tent must be packed damp, unpack it as soon as practical. Dry the fly, inner, floor, bags and guylines completely, then inspect seams and coatings. Persistent water in the same location deserves a closer inspection or manufacturer assessment.
Read our tent-care guide for cleaning and storage. Browse the current tent range and compare each model’s ventilation design and instructions.
Sources and further reading
- NEMO Equipment — why condensation forms inside tents
- MSR — tent ventilation, condensation and care manual
- NZ Mountain Safety Council — choosing and managing a campsite


