
How to Choose a Tent for Cold-Weather Camping
A tent can reduce exposure to wind and precipitation; it does not generate warmth or make a hazardous site safe. Cold-weather comfort comes from the whole plan: forecast, site, shelter, sleeping mat, sleeping bag, dry clothing, food, group skill and a way to leave or call for help.
First decide which kind of cold you mean
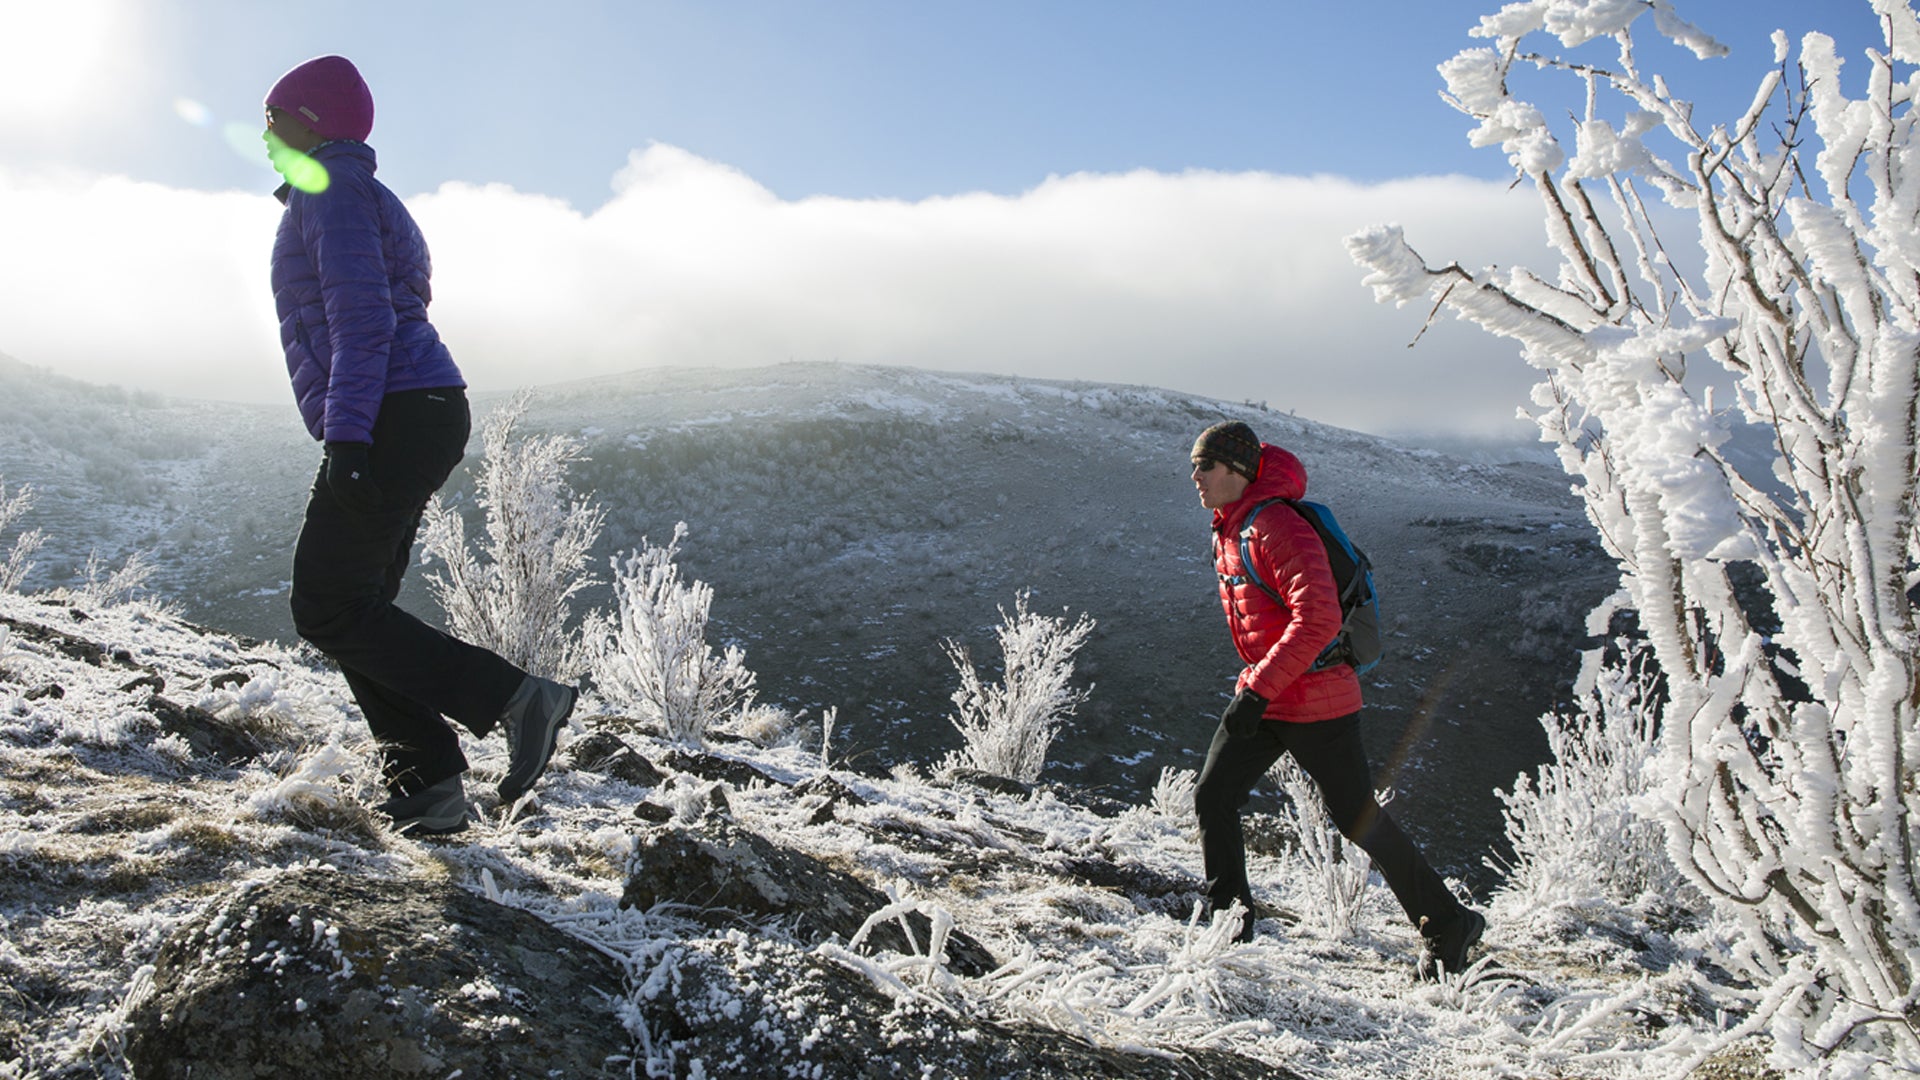
A frosty night at a vehicle-access campground is not the same activity as camping on snow in alpine backcountry. At a managed low-elevation site, space, ventilation and a suitable sleep system may be the main decisions. In alpine terrain, wind loading, snowfall, navigation, avalanche exposure, remoteness and rescue capability become controlling hazards.
If snow and steep terrain may combine, check the New Zealand Avalanche Advisory and use the forecast only as part of trained decision-making. Online reading does not replace practical avalanche education, route judgement and companion-rescue skills. Choose a lower, simpler site if the group does not have them.
Use the forecast to choose the trip
Check the location-specific forecast, watches, warnings, road or track alerts and avalanche information as close to departure as practical. Look beyond the overnight minimum: wind and gusts, rain or snow, freezing level and the timing of fronts all affect whether a shelter can be pitched and occupied safely.
Set decision points before leaving. A forecast or site condition beyond the group’s competence, the manufacturer’s guidance or the safe exit window is a reason to move, change venue or cancel. Do not buy a stronger-looking tent as a substitute for that decision.
Choose the campsite before the tent
NZMSC recommends well-drained ground with shelter from wind. Avoid riverbeds, islands in riverbeds, gorges, flood channels, dead trees and branches, rockfall areas, avalanche paths and slopes with loaded snow above. Cold air can pool on a valley floor, but moving higher may increase wind and exposure; assess the whole site rather than following one rule.
Use established or permitted campsites where required and avoid damaging vegetation. Identify a safer fallback before pitching, including how the group will reach it if visibility or conditions deteriorate.
Read past the “four-season” label
- Intended use: check whether the manufacturer describes the exact tent for campground frost, treeline winter use or exposed alpine snow.
- Structure: inspect the pole or air-frame layout, intersection points, clips or sleeves, guy points and the instructions for wind or snow.
- Fly and floor: check coverage, entrances, vestibules, seams, hydrostatic-head information where supplied and how the fly is kept clear of the inner.
- Ventilation: confirm that protected vents can remain useful in precipitation. Sealing every opening can increase condensation.
- Pitching system: carry every required pole, pump, peg and guyline, plus compatible spares or repair items. Practise with gloves before the trip.
- Space: allow bedding to stay clear of wet walls and keep exits and vents unobstructed.
Treat a season label as a broad use category, not a universal numerical wind or snow guarantee. Use the published limits and setup requirements for the exact model. If the maker gives no relevant limit for the planned exposure, that uncertainty belongs in the go/no-go decision.
The sleep system does the warming
Ground insulation is as important as the sleeping bag. Where supplied, an ASTM F3340 R-value lets you compare resistance to heat loss across sleeping mats tested to that standard. Check the manufacturer’s guidance for the expected conditions. If combining mats, add published R-values only where the makers support layering and the ratings use a comparable test method.
For a temperature-rated sleeping bag, identify which rating is being quoted and which test method was used. A comfort, limit and extreme figure do not mean the same thing; extreme is not a normal planning target. Personal warmth varies with clothing, food, fatigue, moisture and physiology, so leave a conservative margin and keep the insulation dry.
Ventilate and keep combustion outside
Breathing and damp equipment release moisture. Use the tent’s vents, keep wet gear separate where practical and avoid pressing bedding against the inner. Dry the tent fully after the trip.
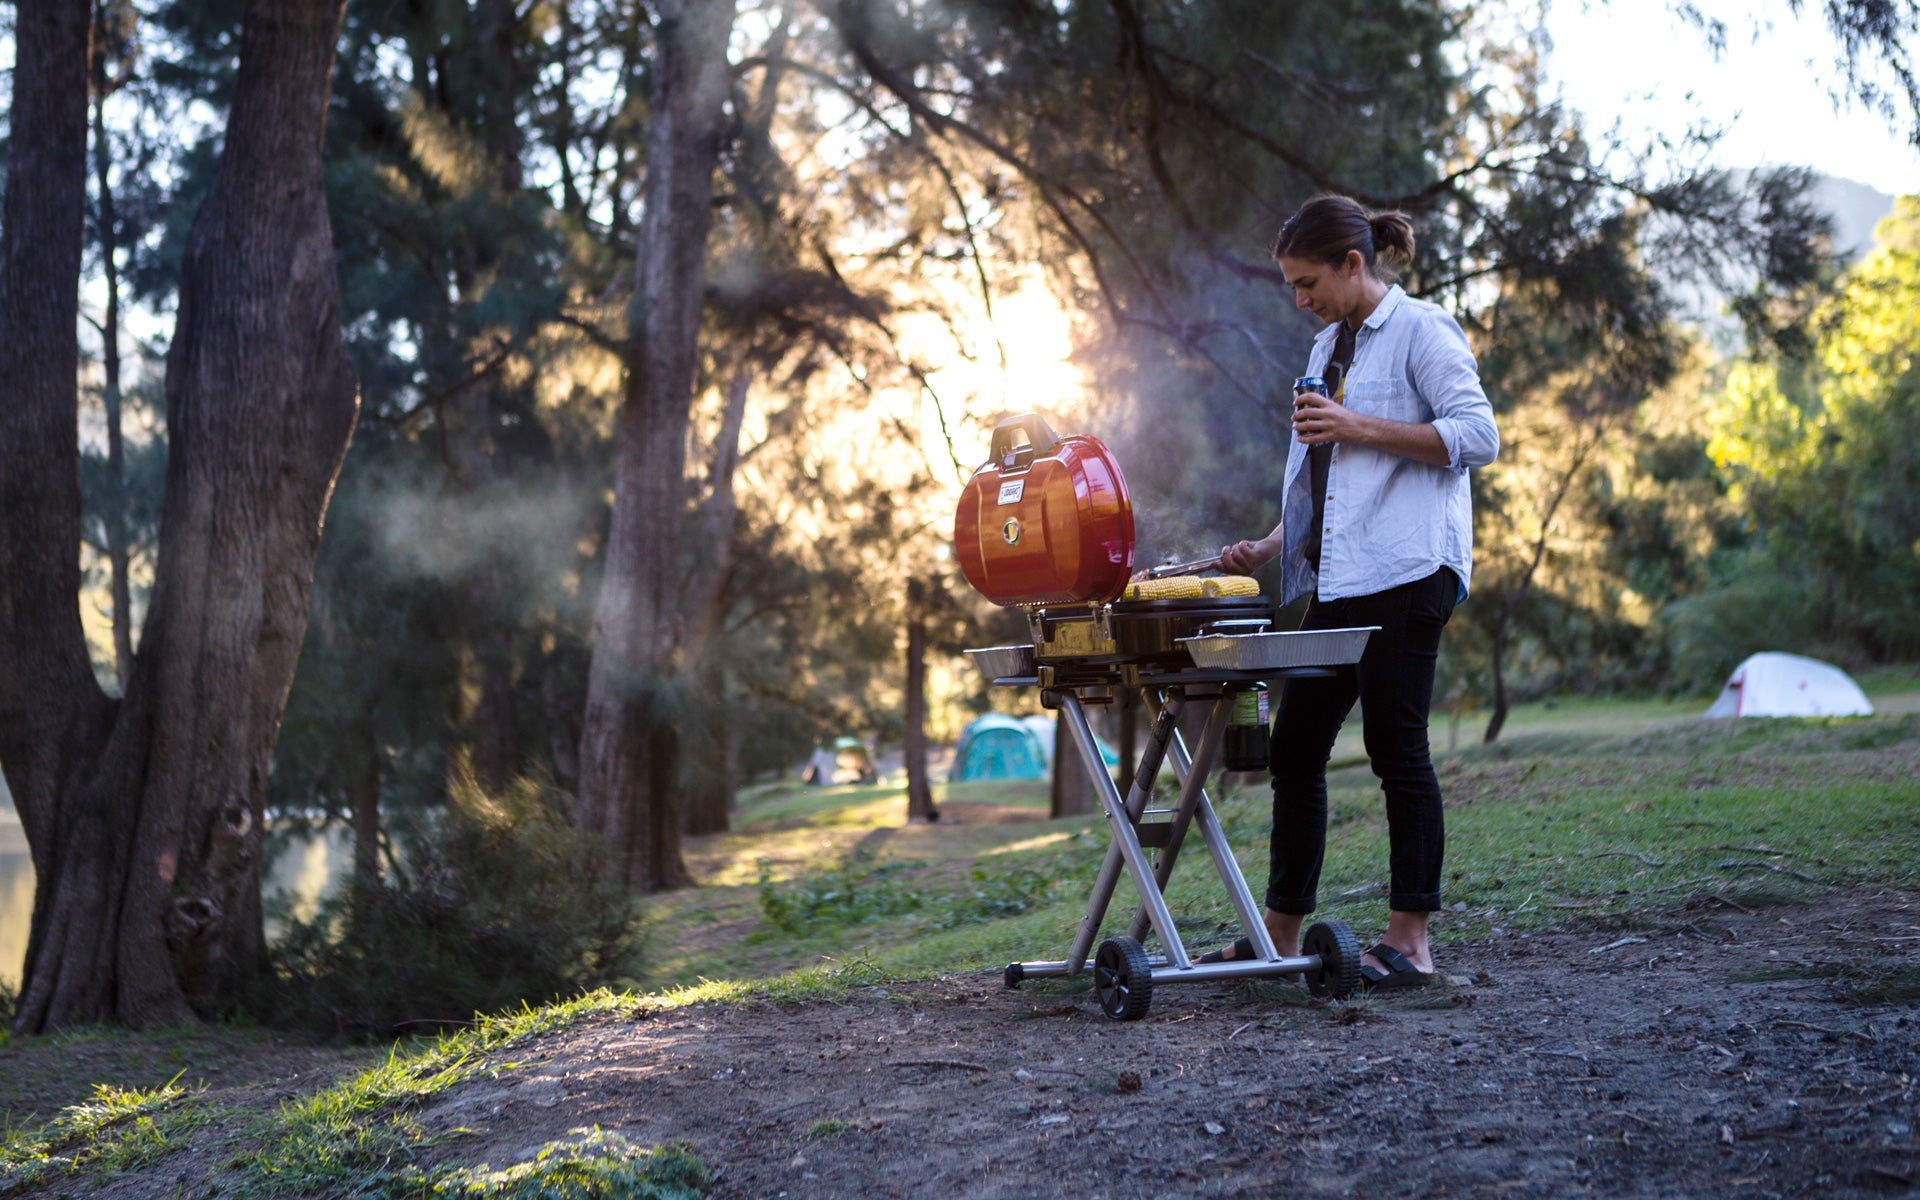
Never use a portable camping cooker or fuel-burning heater inside a tent, vehicle or enclosed sleeping area. An appliance labelled for outdoor use must stay outdoors, even if a hut or campsite otherwise allows cooking. WorkSafe warns that camping appliances can produce fatal carbon monoxide and that a faulty appliance may emit it even in a ventilated space. A cooker is not a tent heater.
Carry a margin for change
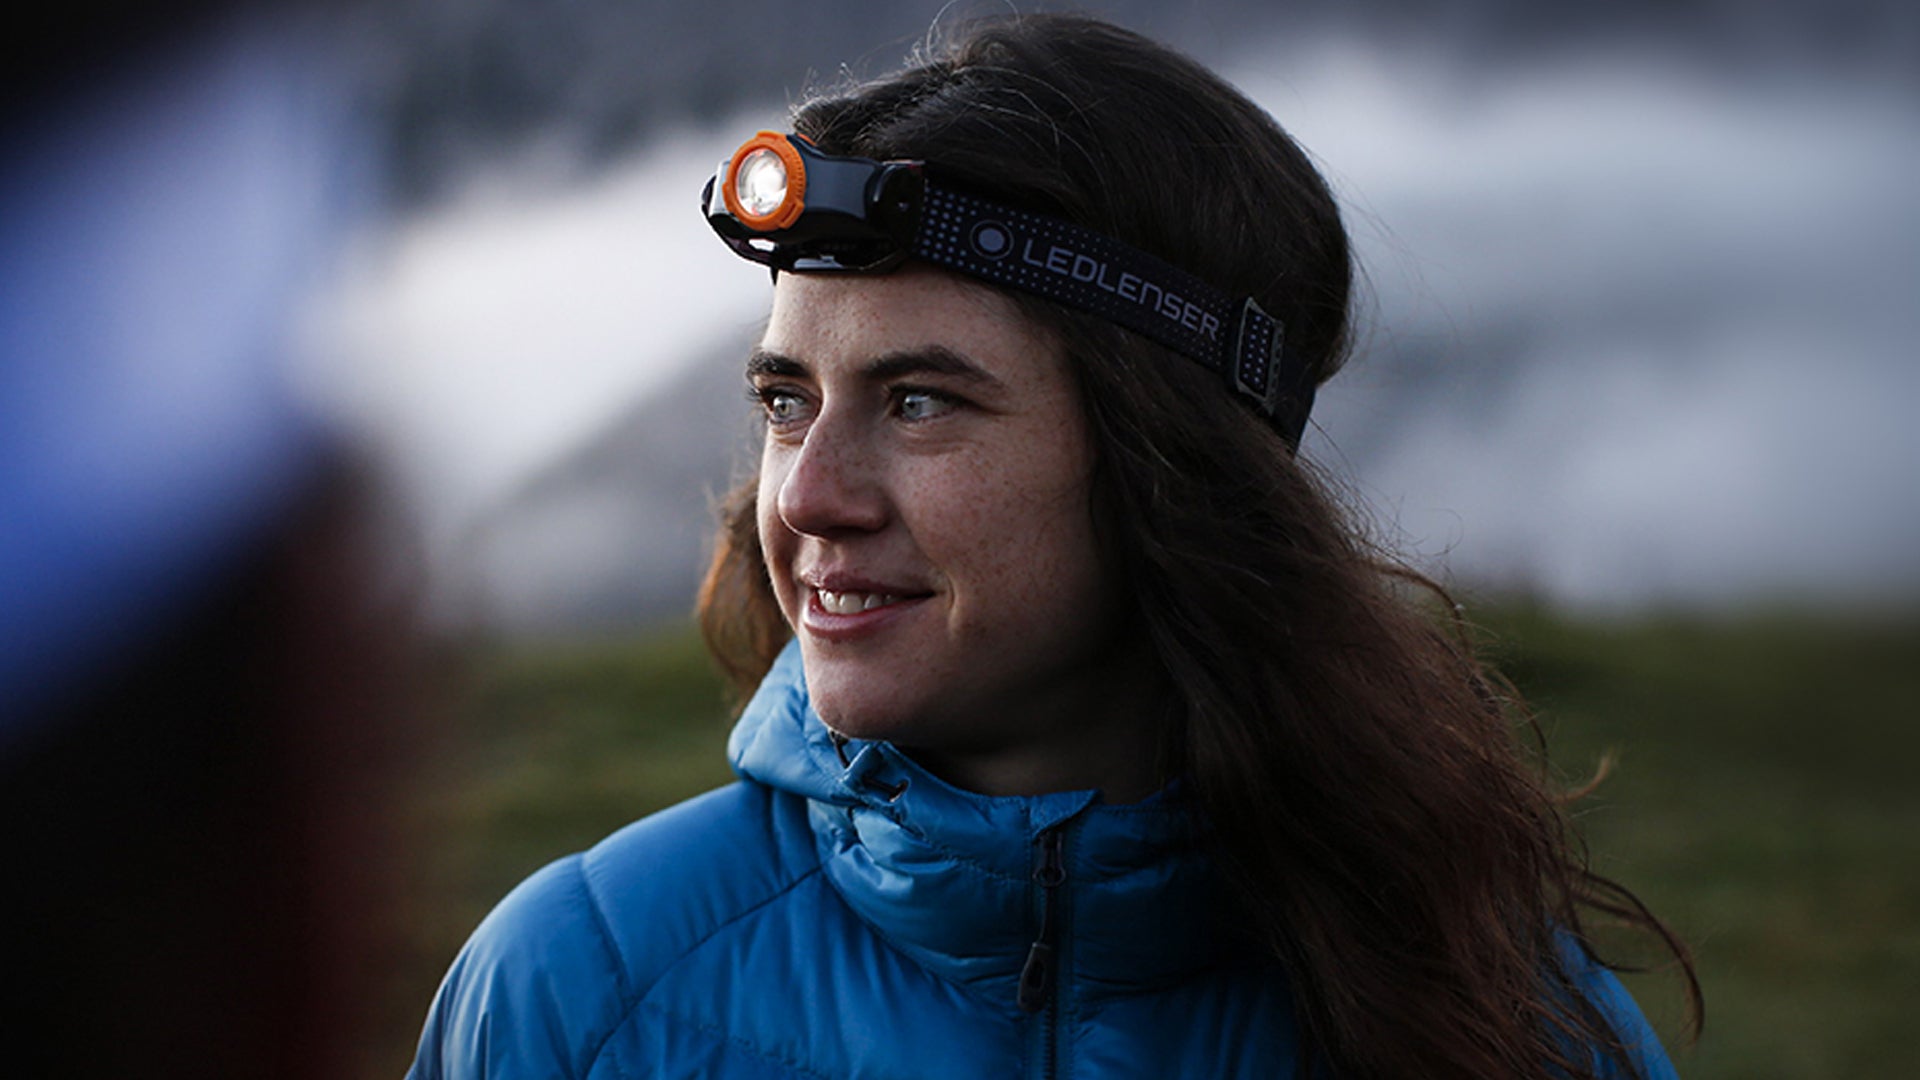
Pack waterproof and windproof outer layers, dry insulation, spare food, head torches and an emergency shelter or backup appropriate to the trip. Share intentions and an overdue plan. In remote country, take a registered distress beacon or suitable satellite emergency device and keep it accessible.
Browse current tents, sleeping mats and sleeping bags, then verify the intended use and current specifications of each product.
Sources and further reading
- New Zealand Mountain Safety Council: campsite choice and pitching
- New Zealand Mountain Safety Council: outdoor weather planning
- Department of Conservation: camping gear list
- New Zealand Avalanche Advisory: alpine trip planning
- WorkSafe New Zealand: camping-appliance safety
- Sea to Summit: ASTM F3340 sleeping-mat R-values
- Rab: sleeping-bag temperature ratings explained