


Hiking Pack Terms Explained — Fit, Capacity & Features
Hiking Pack Terms Explained — Fit, Capacity & Features
Buying a hiking pack based on looks or brand alone is how you end up with back pain by lunchtime. Pack design has real engineering behind it — and understanding the terminology means you can actually compare packs and find one that fits how you're built and what you're doing. Here's the breakdown.
Torso Length vs Pack Size
This is the most misunderstood spec in pack buying, and getting it wrong causes more discomfort than anything else.
Pack size (measured in litres) tells you how much the pack holds. Torso length is the measurement that determines whether the pack fits your body — specifically, whether the hip belt sits on your hip bones and the shoulder straps sit correctly on your shoulders.
To measure your torso length: stand straight and find the bony bump at the base of your neck (C7 vertebra). That's the top measurement point. The bottom point is the top of your hip bone (iliac crest) — usually level with your thumbs when your hands are on your hips. The distance between these two points is your torso length.
Most packs come in S/M/L torso sizes, with some brands offering women's-specific short torso models. Don't skip this step — a pack with the wrong torso fit is uncomfortable no matter how well everything else is specced.
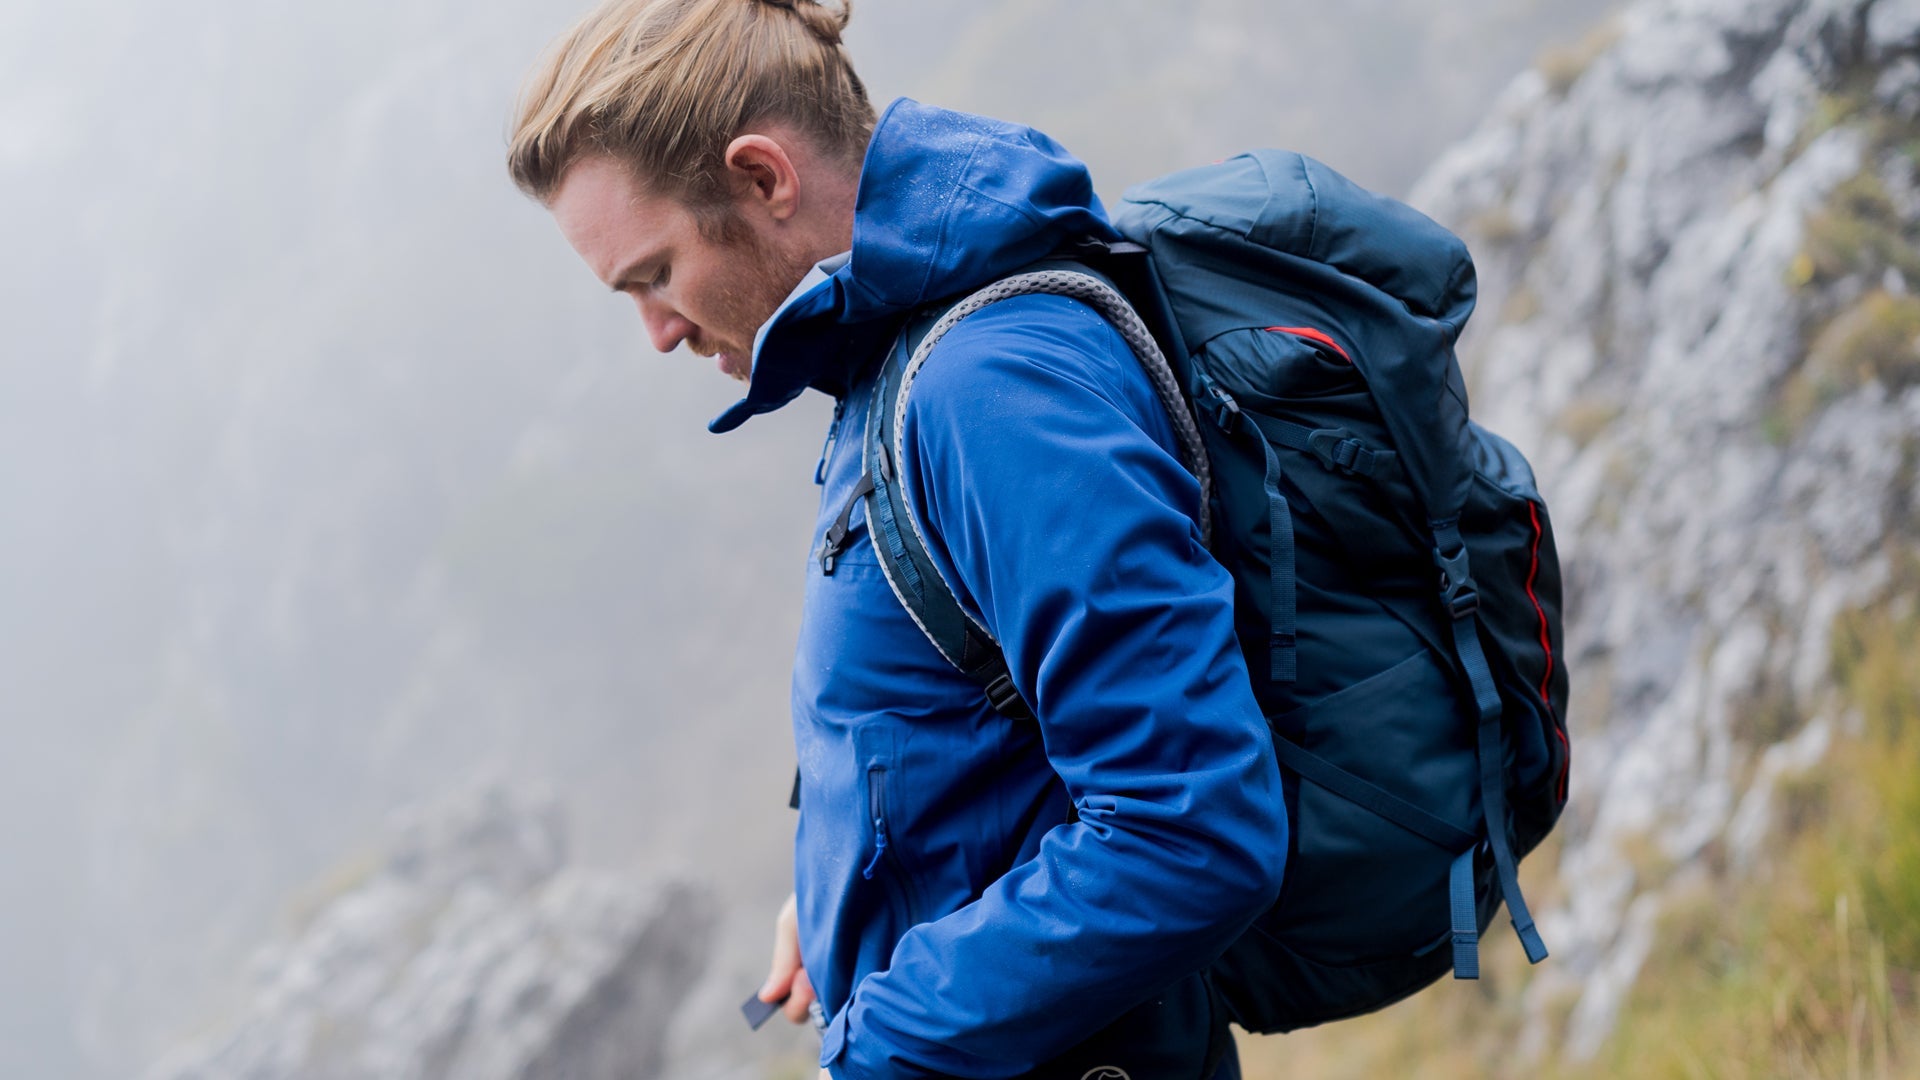
Hip Belt vs Shoulder Harness — Where the Weight Goes
A properly fitted pack transfers most of its weight through the hip belt to your hips and legs — the strongest part of your body — rather than hanging from your shoulders.
- Hip belt: The padded waist strap that wraps around your hip bones (not your waist — it should sit on the top of the pelvis). A correctly fitted hip belt should carry 70–80% of the pack's weight on longer, heavier carries. It should be snug with 2–3 finger widths of clearance on each side when buckled.
- Shoulder harness: Takes the remaining load and keeps the pack from tipping away from your back. On well-fitted packs it shouldn't be doing the heavy lifting — if your shoulders are taking most of the weight, the hip belt isn't positioned correctly.
Lighter day packs (under 10–15L) often skip substantial hip belts because the load is light enough to carry on your shoulders comfortably. For anything larger, a proper padded hip belt is non-negotiable.
Capacity — Matching Litres to the Trip
Litres determine what fits. Here's a practical NZ tramping guide:
- 15–25L: Day hikes. Carries water, food, a layer, basic first aid. No room for overnight gear.
- 35–50L: Overnight to two-night trips. Fits sleeping bag, mat, one set of clothes, food, shelter if needed. Also suitable for Great Walk hut-to-hut trips where you're not carrying a tent.
- 55–70L: Multi-day Great Walks with full gear, or shorter backcountry trips with tent. The most common size for NZ tramping.
- 70L+: Extended backcountry, winter camping, or expeditions where you're carrying food for 7+ days and full shelter. Heavy when loaded — fit and suspension quality matter more here.
Oversize your pack and you'll fill it. It's better to have a pack that's correctly loaded than one with unused volume stuffed to justify the size.
Load Lifters
Load lifters are the short diagonal straps that run from the top of the shoulder straps up to the top of the pack frame. When tightened, they pull the top of the pack closer to your back, shifting the centre of gravity toward your body.
A pack riding too far back puts leverage on your spine. Tightening the load lifters brings the pack in and makes carrying easier, especially on longer days. The straps should sit at roughly a 45-degree angle — if they're already maxed out or too slack to engage, the pack's torso length may not be right for you.
Adjust them throughout the day as your posture changes — many people forget these straps exist and miss a significant comfort improvement.
Sternum Strap
The sternum strap (or chest strap) connects the two shoulder straps across your chest. Its job is to stop the shoulder straps sliding outward off your shoulders, which they'll do under load if left unchecked.
Correct position: across the chest, roughly 2–3 finger widths below your collarbone. Tight enough to hold the straps in place, loose enough that your breathing isn't restricted. It's not a load-bearing strap — don't overtighten it thinking it'll help with weight distribution. That's the hip belt's job.
SL Sizing — Women's Short/Slim Fit
Many pack manufacturers offer SL (short/slim or women's-specific) versions of their packs. These aren't just marketing — they're constructed on a different last to match average female body geometry: shorter torso length, narrower shoulder width, and a hip belt shaped for wider hips relative to the waist.
Women with shorter torsos often find standard packs sit too long, pushing the hip belt below the iliac crest and shifting weight onto the lower back. SL sizing corrects this. It's worth trying both standard and SL sizes regardless of gender — some men with shorter torsos fit SL packs better, and some taller women prefer standard sizing.
Top Loader vs Panel Loader vs Clamshell
How you access the pack's main compartment affects how easy packing and unpacking is on the trail.
- Top loader: Access from the top, usually via a drawcord and lid. Simple, durable, and weatherproof. The most common design for technical tramping packs. Downside: getting something from the bottom means unpacking from the top.
- Panel loader: A zip that runs down the front or side of the pack, opening the main compartment like a suitcase. Easy access to everything. More zipper exposure to weather and wear. Common on travel packs and some hiking models.
- Clamshell: A U-shaped zip that opens the main compartment fully, front and back, like opening a book. Maximum access. Heavy zipper construction. Popular on heavier travel-oriented hiking packs.
For serious NZ tramping in variable weather, top loaders are the standard. Panel loaders are convenient but need more care in rain and on rough terrain.
Hydration Compatibility
Most modern packs include hydration bladder sleeves — a dedicated internal pocket that holds a soft water reservoir (bladder) with a tube that routes through a port to clip to your shoulder strap. This lets you drink without stopping to get out a water bottle.
What to check:
- Bladder sleeve: A dedicated internal compartment that keeps the bladder flat and stable.
- Tube port: An opening in the pack body or shoulder strap for routing the drinking tube.
- Hose clips on shoulder strap: Small loops to hold the tube in place so it doesn't swing around.
Hydration compatibility is standard on most packs over 20L. Not all packs include the bladder — just the sleeve. Check what's included.
Rain Cover — Built-in vs Separate
In NZ, assume it will rain. A pack rain cover keeps your pack — and everything in it — dry when it does.
- Built-in: Stored in a zippered pocket at the pack base, pulls out and clips over the pack. Convenient because you can't forget it. Adds minor weight permanently.
- Separate cover: Bought independently. More flexible — you can size it correctly for your pack and replace it if it wears out. Easy to forget at home.
Even with a rain cover, pack the important stuff (sleeping bag, down gear, electronics) in a dry bag or liner. Rain covers can slip, cover imperfectly in wind, and don't protect against being dunked in a river crossing. Use the cover as your first line of defence, dry bags as the backup.
Browse hiking packs at Dwights — including Deuter's range, which offers both standard and SL sizing across a wide capacity range. For pack waterproofing and dry storage, see our dry bags and waterproof cases.
Frequently Asked Questions
How do I measure my torso length for a hiking pack?
Stand straight and locate the bony bump at the base of your neck (C7 vertebra) — that's your top measurement point. Put your hands on your hips; the top of your hip bones (iliac crest) is the bottom point. Measure the distance between the two in centimetres. Use this to match the pack's torso size range (S/M/L), not your clothing size or height.
What size pack do I need for a NZ Great Walk?
For a Great Walk staying in huts, a 50–60L pack is typically sufficient — you're carrying sleeping bag, warm layers, food, and rain gear, but not a tent. If you're camping on a Great Walk or tramping with a tent and full gear, 60–70L gives more comfortable packing room. Don't oversize — a properly packed 55L is more comfortable than a loosely filled 70L.
How should a hip belt fit?
The hip belt should sit on top of your hip bones (iliac crest), not around your waist. When buckled and tightened, it should be snug with 2–3 fingers of clearance on each side of the buckle. You should feel it firmly holding the pack to your hips, with the pack's weight transferring through your hips and legs rather than pulling on your shoulders.
What are load lifters and how do I use them?
Load lifters are the short diagonal straps running from the top of the shoulder harness up to the top of the pack frame. Tightening them pulls the pack's top closer to your back, improving balance and reducing leverage on your spine. They should sit at roughly a 45-degree angle. Tighten them gradually throughout the day — especially useful when the pack feels like it's pulling you backwards.
Do I need a women's-specific (SL) pack?
If you have a shorter torso or wider hips relative to your waist, an SL or women's-specific pack is likely to fit better than a standard model — regardless of gender. The differences are in torso length, shoulder harness width, and hip belt shape. The best way to know is to try both and load them up. Fit matters more than the label.
Should I get a pack with a built-in rain cover?
For NZ tramping, having a rain cover is important — built-in or separate. Built-in covers are convenient because they're always there. Separate covers can be sized more precisely and replaced independently. Either way, don't rely solely on the rain cover for critical gear — use dry bags or a pack liner for sleeping bags, down insulation, and electronics as a backup.
What's the difference between a top loader and a panel loader pack?
A top loader opens from the top (drawcord and lid) — durable, simple, and more weatherproof, but requires unpacking from the top to reach items at the bottom. A panel loader opens via a zip down the front or side, giving suitcase-style access to everything at once. Top loaders dominate in technical tramping packs; panel loaders are more common in travel and casual hiking. For serious NZ conditions, a top loader is the safer choice.